Cut a piece of fabric of approximately half a yard. I used the entire width of my fabric, 43″. You can use a wider fabric for a more gathered top or cut the fabric to measure 18×43″. Fold it in half, right sides together and sides matched up. Pin and stitch the short side, along the selvages, with a straight stitch and a seam allowance of 3/8″. Press your seam. You have now created a tube.
Knip een stuk stof af van ongeveer 45 cm. Ik gebruikte de gehele breedte van de stof, 110 cm. Je kan een bredere stof gebruiken om een sterker gerimpelde top te maken, of je kan de stof bijknippen tot een rechthoek van 45 bij 110 cm. Vouw de stof dubbel, met de goede kanten op elkaar en de zelfkanten netjes op elkaar. Speld en naai de korte zijkanten op elkaar met een rechte steek en een naadwaarde van een centimeter. Pers de naad. Je hebt nu een koker gemaakt.
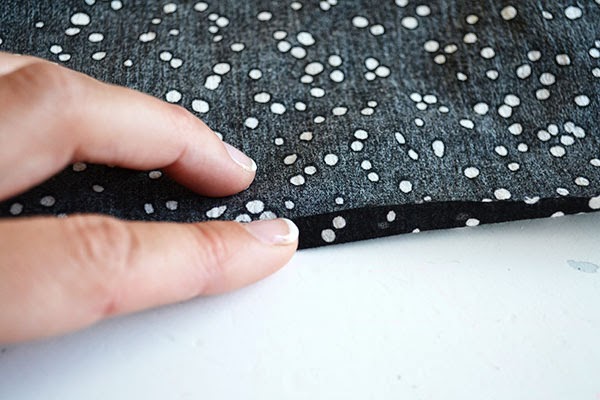
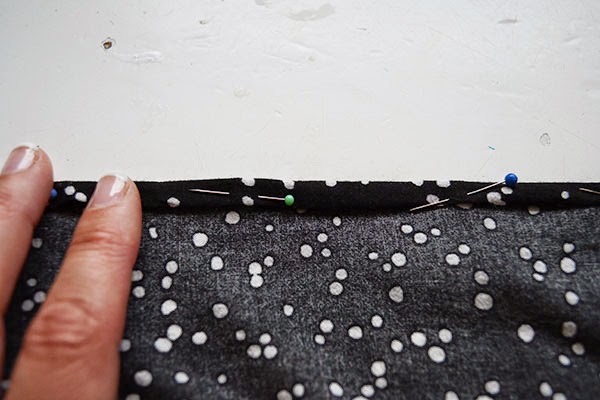
Hem both sides of the tube, top and bottom, by folding the fabric 3/16″ up towards the wrong side and then folding it up 3/16″ yet again. Thus the raw edge is fully enclosed. Press and pin the hem.
Zoom de boven- en onderkant van de koker, door de stof een halve centimeter naar binnen te vouwen en vervolgens nog een keer een halve centimeter naar binnen te vouwen (dus naar de verkeerde kant van de stof). Op deze manier is de rafelkant netjes naar binnen weggewerkt. Pers en speld de zoom.
Stitch the hem down with a straight stitch.
Naai de zoom vast met een rechte steek.
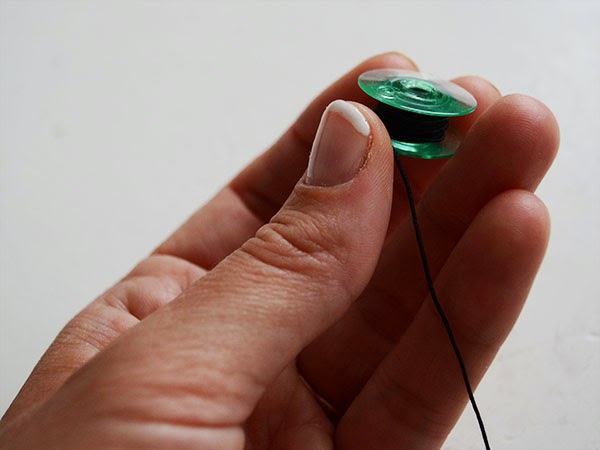
Prepare for shirring. With shirring, the bobbin is wound with shirring elastic. You need to wind the bobbin with shirring elastic by hand. The top thread is regular sewing thread.
Bereid je voor op het rimpelen… Bij het rimpelen wordt het spoeltje voor de onderdraad opgewikkeld met rimpelelastiek. Dit rimpelelastiek wikkel je met de hand om het spoeltje. De bovendraad is gewoon naaigaren.
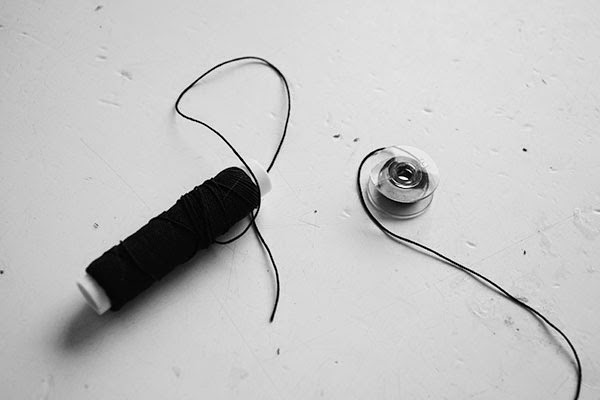
I didn’t stretch the elastic when winding and this worked perfectly. Should the shirring not work out well then you can try to wind the bobbin while stretching the elastic. Load the bobbin into your machine as usual, paying extra attention that the bobbin thread (i.e. elastic) is pulled into all loops for tension. My needle didn’t pick up the bobbin thread on the first attempts, but when I didn’t cut the excess bobbin thread on loading it it worked out fine.
Ik heb het elastiek er zonder uitrekken om gewikkeld en het werkte prima. Lukt het echter niet op deze manier dan kan je het elastiek uitgerekt om het spoeltje wikkelen. Span je onderdraad (of beter gezegd: onderelastiek) op de normale wijze in je machine. Let wel goed op dat het elastiek netjes door alle spanners gaat. Bij mijn eerste pogingen pikte de naald de onderdraad niet goed op, maar wanneer ik het extra stuk draad niet afsneed bij het inspannen ging het prima.
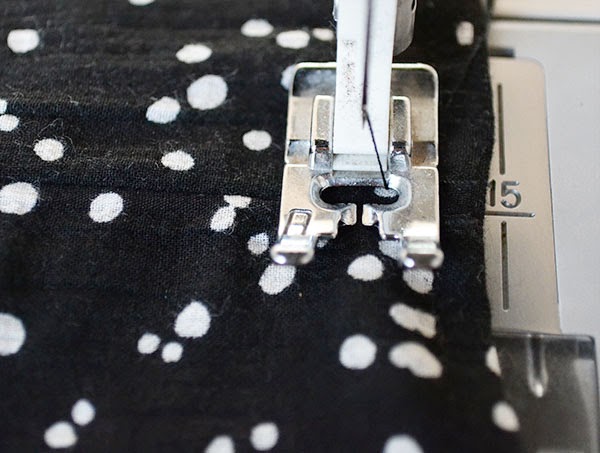
To shir, you sew with a straight stitch, as long a stitch as possible. I didn’t adjust tension, but some say you should increase tension. Don’t forget to secure your stitching on beginning and end by backstitching a bit and always try on a scrap of your fabric before starting the real work.
Om te rimpelen naai je met een rechte steek, zo lang mogelijk. Ik veranderde niets aan mijn draadspanning, maar sommigen zeggen dat je de spanning kan verhogen. Vergeet niet om goed aan en af te hechten door even een paar steken voor- en achteruit te gaan aan het begin en eind van je stiksel en probeer het rimpelen eerst uit op een restje van je stof voordat je aan het echte werk begint.
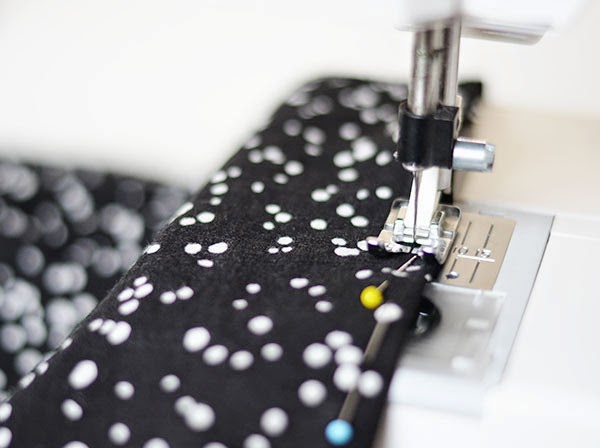
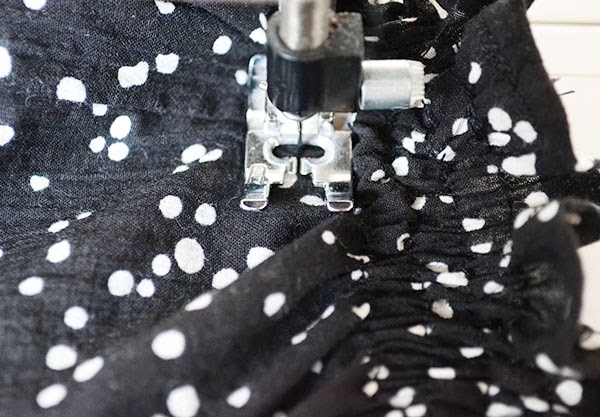
Now start shirring the tube to make it a top! Use your presser foot along the stitches of the top hem as a guide to make your lines straight and just shir all around the top. Secure your stitches at the beginning and end and move on to the next line of shirring. I made five rows of shirring, each at presser foot’s width distance of the other line.
Nu is het moment om de koker te rimpelen tot een topje! Gebruik de rand van je persvoet langs het stiksel van de zoom om te zorgen dat je netjes recht naait en rimpel langs de hele bovenrand. Hecht goed aan en af en maak een volgende rimpellijn door weer voetjebreed onder het nieuwe stiksel langs te gaan. Ik maakte vijf rimpelrijen op deze manier.
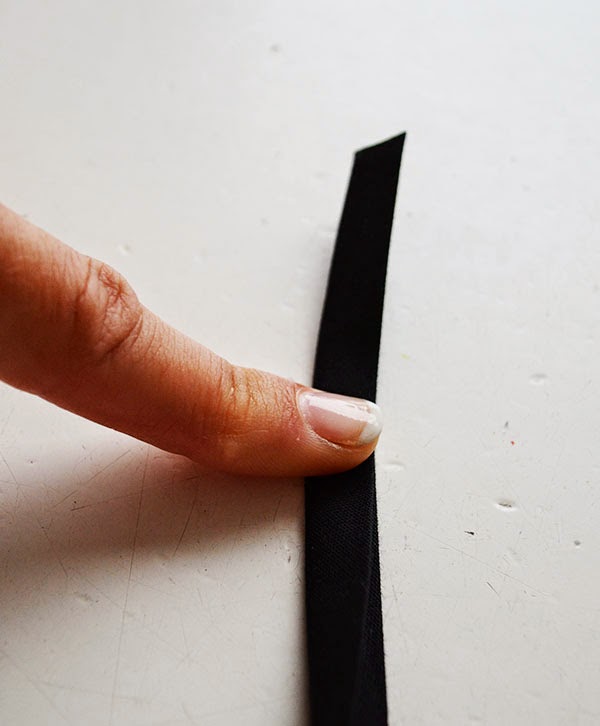
The spaghetti straps are made of bias tape. Cut your bias tape in four equal lengths, approximately half a yard each. Fold and press these straps lengthwise.
De spaghettibandjes worden gemaakt van het biaisband. Knip het band in vier gelijke stukken, elk ongeveer een halve meter. Vouw ze dubbel in de lengte en pers ze.
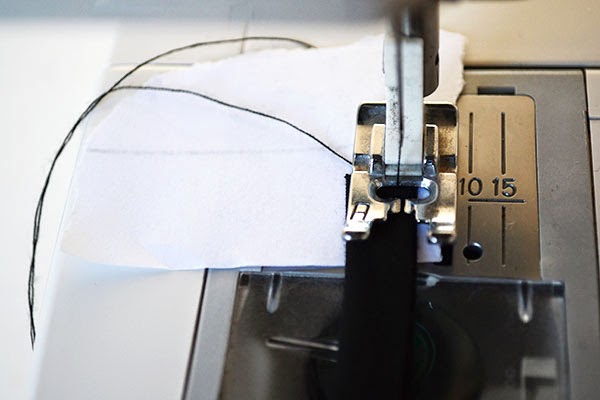
Now sew them at 1/16″ of the edge. To prevent the bias tape from getting caught in your machine, place a scrap of paper below the bias tape at the beginning. This paper can be easily removed after sewing.
Naai ze nu dicht langs de kant vast. Om te voorkomen dat het band bij het naaien vast raakt in de machine kan je een stukje papier onder het beginnetje leggen. Dit kan je na afloop gewoon van je bandje afscheuren.
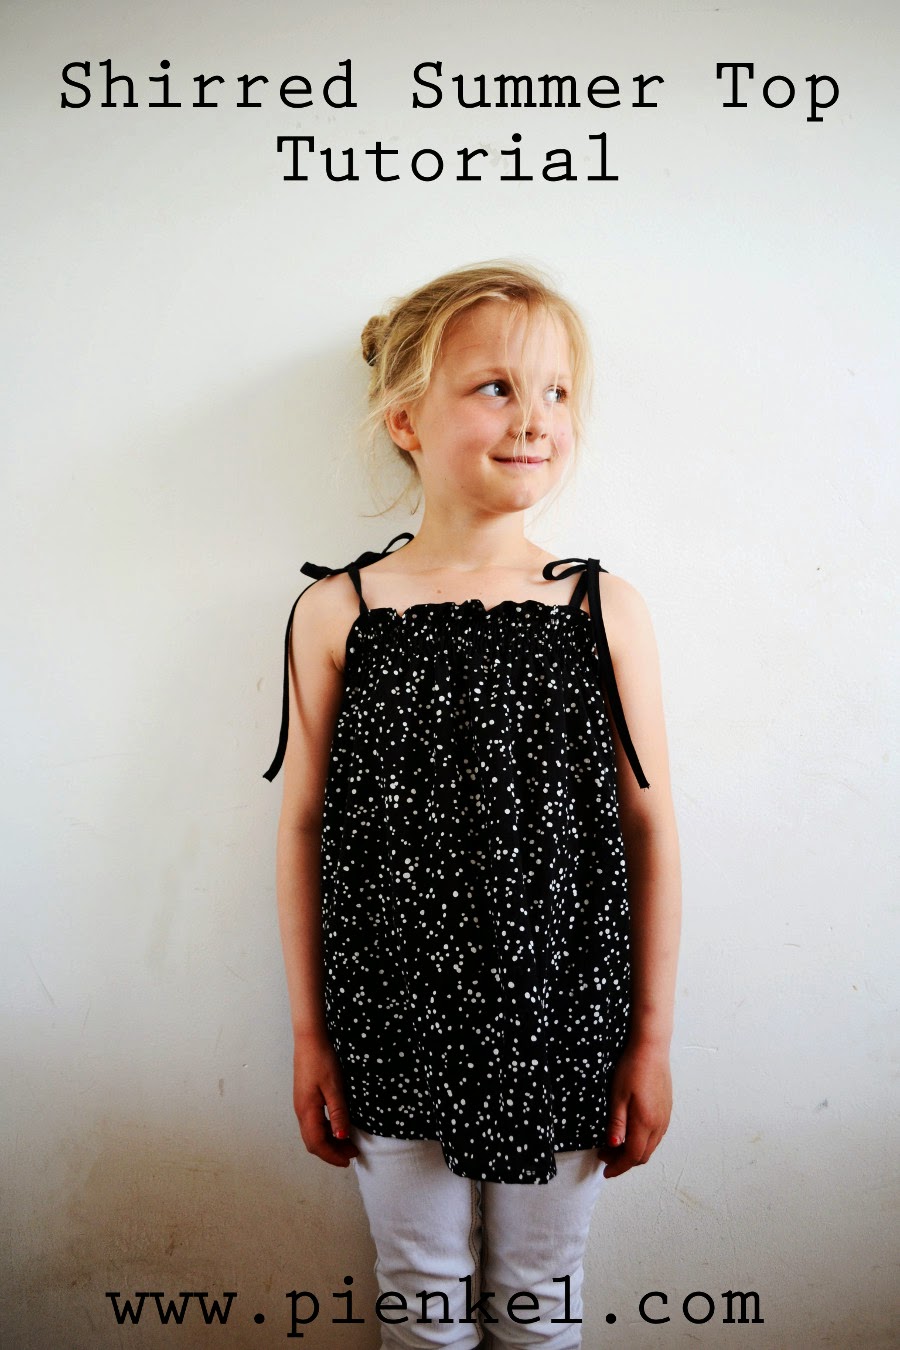
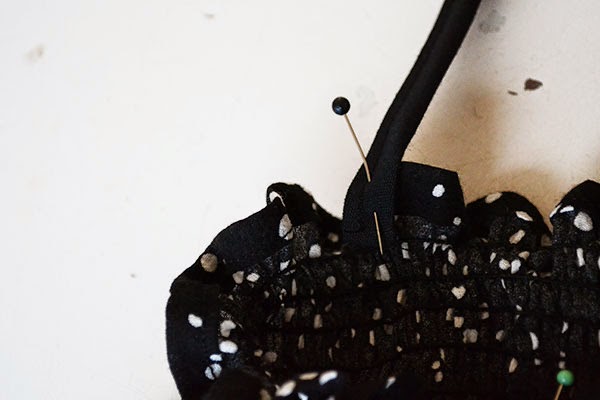
Make nice bows in the straps and put the top on your girl…
Strik de bandjes aan elkaar vast en doe je meisje het topje aan…






Beautiful shirred top!! And your photos are lovely. Thanks for sharing! I like the ease of shirring just using the edge of the presser foot as a guide. 🙂 -Deanna {sewmccool}
We used to call these baby doll dresses, although ours were longer. It's a great style… still love them. Yours looks lovely as a top!
Hi,
Thanks for participating in my link up party! The top is beautiful. I remember my mom wearing shirred dresses when I was a girl. They are easy, beautiful and sooo forgiving!
Great tips 😉
Daniela
Great tutorial!! I love shirred dresses. It's a lot of trouble shirring on a Brother machine…sometimes I miss my old Singer!
I really need to try shirring. I love the effect. Your tutorial will come in handy, thanks.
Great tutorial and I love that top! Thanks for linking up with Tuesday Sews at PiePie Designs!
This is a great tutorial! I love the finished top.
This is a perfect summer top!!
This is gorgeous. I've never seen black elastic thread!
Thank you Deanna, it does make the shirring very easy!
Thanks Pam! And next year our little one gets to wear this one as a dress 😉
Thanks Daniela, they are very comfortable indeed, I might make myself something with it…
Thanks Amy! That's a bummer, does the Brother have a different kind of bobbin feed or something? Then I guess I'm lucky with my old Husqvarna for making this so easy on me!
Thanks Olu, I can really recommend it. I had put it off for over a year, after buying the shirring elastic, but now I don't know why, it's soooo easy!
Thank you Lisa!
Thanks Stephanie! Now just hoping that the hot weather returns so she can have a lot of wear out of it!
Thanks Kathy! And next year her little sister will be able to wear it as a dress 😉
Thanks Tasha! Haven't you? I sent my mom out to buy me some, a year ago, and she returned with black, white and even red!
I just ran across this tutorial, it includes tips specifically for rother, maybe that helps a bit? http://imaginegnats.com/tutorial-shirring-with-elastic-thread/
This is so sweet- love it!
Love it!
Kiss from Serbia,
Cale
Darling! I love shirred clothing on little children. Looks beautiful!